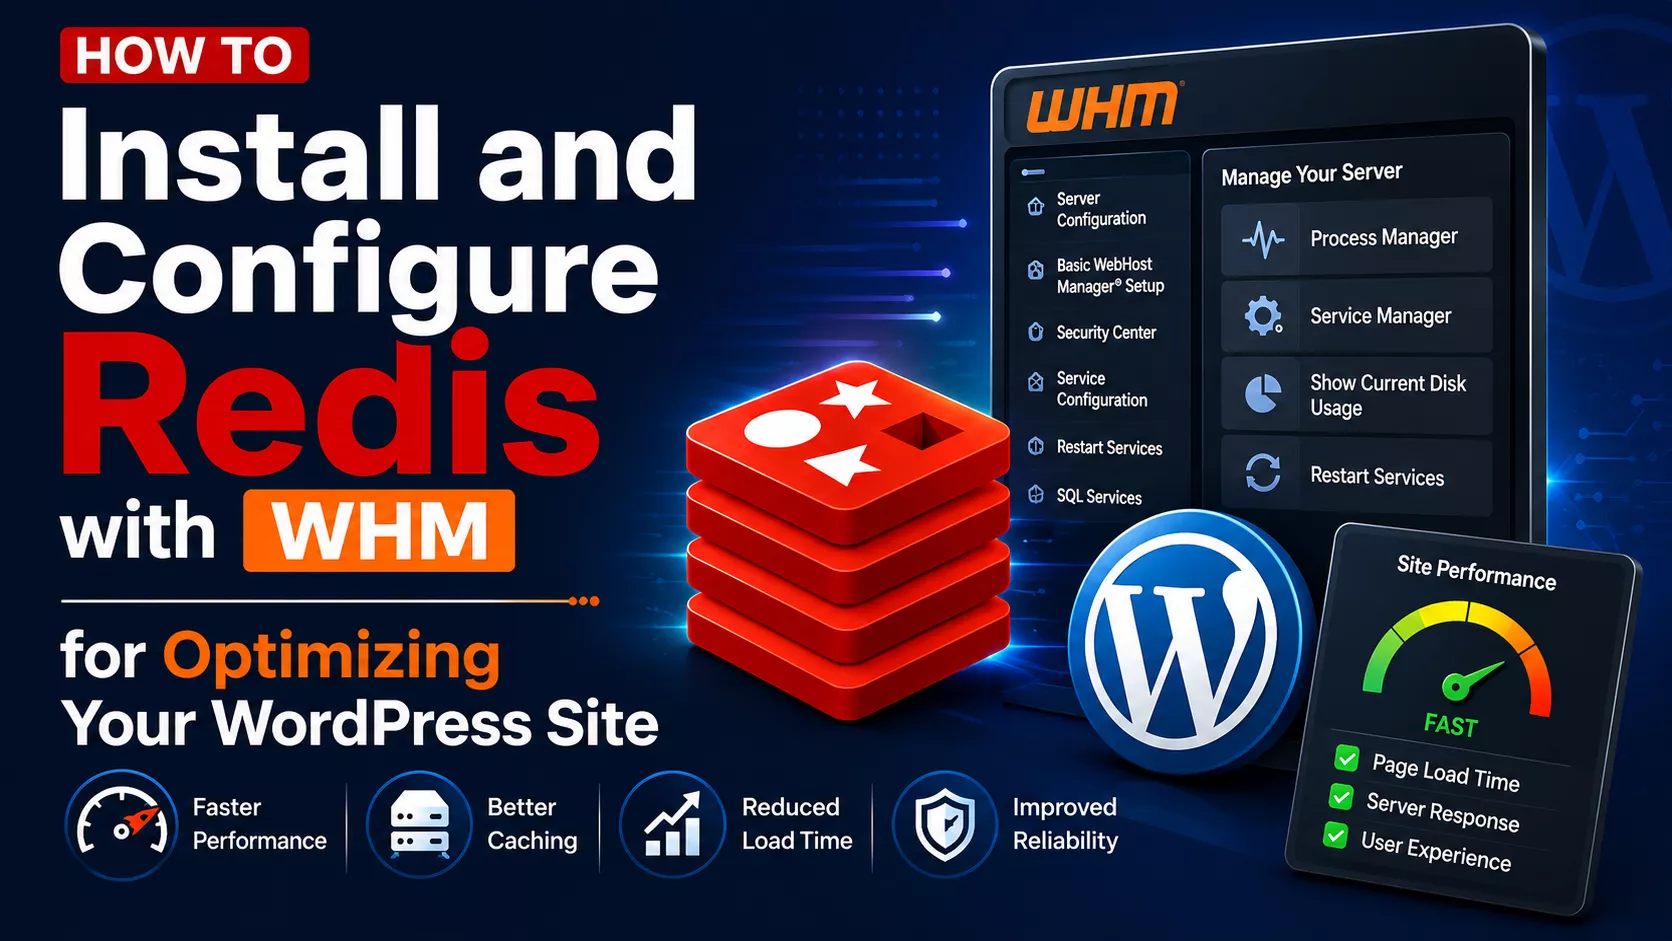
How to Install and Configure Redis with WHM for Optimizing Your WordPress Site
A complete guide to installing, configuring, and troubleshooting Redis with WHM/cPanel to boost WordPress performance.
With WHM (Web Host Manager) access, managing server-wide configurations becomes straightforward. This guide will walk you through installing and configuring Redis on your server using WHM, specifically for a WordPress site. Additionally, we will address a common error:
Redis is unreachable: Connection refused [tcp://127.0.0.1:6379]
What is Redis?
Redis is an open-source, in-memory data structure store that is used as a database, cache, and message broker. It supports data structures such as strings, hashes, lists, sets, and more. In a WordPress context, Redis is often used to improve site performance by caching database queries and reducing load times.
Read More: Running Multiple C/C++ Files in CLion: A Simple Guide
1. Install Redis
Log into SSH as Root
To begin, you'll need root SSH access to your server. Open your terminal and connect to your server via SSH.
Install Redis
Depending on your server's OS, use the appropriate command to install Redis:
For CentOS/RHEL-based servers:
yum install redisFor AlmaLinux or CloudLinux servers:
dnf install redis2. Start and Enable Redis Service
Once Redis is installed, ensure it is running and set to start on boot:
Start the Redis service:
systemctl start redisEnable Redis on boot:
systemctl enable redis3. Verify Redis Installation
To confirm that Redis is working correctly, use the Redis command-line interface:
Ping Redis:
redis-cli pingIf Redis is running, you should receive a PONG response.
4. Configure Redis in WHM/cPanel
To configure Redis for PHP applications via cPanel:
- Access EasyApache 4 in WHM — Navigate to the "Software" section and look for "EasyApache 4" in your WHM dashboard.
- Customize the current profile — You can either customize the current configuration or create a new one.
- Select the Redis PHP extension — Ensure that the Redis PHP extension is selected for installation.
- Rebuild and provision — After adding the Redis PHP extension, rebuild and provision the profile.
5. Configure Redis for WordPress
To use Redis with WordPress:
- Install a Redis plugin — Use a Redis caching plugin such as "Redis Object Cache."
- Configure the plugin settings — Set the plugin to connect to
127.0.0.1on port6379.
6. Addressing the "Connection Refused" Error
The error Redis is unreachable: Connection refused [tcp://127.0.0.1:6379] indicates that the Redis service is either not running or not accessible at the specified address. Here are steps to troubleshoot and fix this issue:
Ensure Redis Service is Running
Check Redis status:
systemctl status redisIf the service is not running, start it:
systemctl start redisVerify Redis is Listening on the Correct Port
Ensure Redis is configured to listen on 127.0.0.1 and port 6379. Edit the Redis configuration file (redis.conf):
nano /etc/redis/redis.confEnsure the following lines are present and correct:
bind 127.0.0.1
port 6379
After making changes, restart Redis:
systemctl restart redisCheck Firewall Settings
Ensure that the firewall is not blocking Redis connections on port 6379:
firewall-cmd --permanent --add-port=6379/tcp
firewall-cmd --reload
Test Connection
Use the Redis CLI to test the connection:
redis-cli -h 127.0.0.1 -p 6379 pingIf you receive a PONG response, the connection is successful.
7. Security and Optimization
Secure Redis
Edit the Redis configuration file (redis.conf), typically located in /etc/redis/.
Set a strong password:
requirepass yourstrongpasswordOptimize Redis Performance
Adjust the maxmemory setting according to your server's RAM to optimize performance:
maxmemory 256mb # Example setting8. Check Logs
Regularly check Redis logs for errors or important messages. Logs are usually found in:
/var/log/redis/redis.logConclusion
By following this guide, you can successfully install, configure, and troubleshoot Redis on your server using WHM. Redis can significantly enhance the performance of your WordPress site by providing efficient caching and fast data retrieval. Addressing common errors like Redis is unreachable: Connection refused [tcp://127.0.0.1:6379] ensures that your Redis setup runs smoothly.
Regularly monitor and optimize your Redis configuration to maintain optimal performance and security. If you encounter any issues beyond your control, don't hesitate to reach out to your hosting provider's support team for assistance. With proper setup and maintenance, Redis can be a powerful tool in your web hosting environment, offering speed and reliability for your applications.